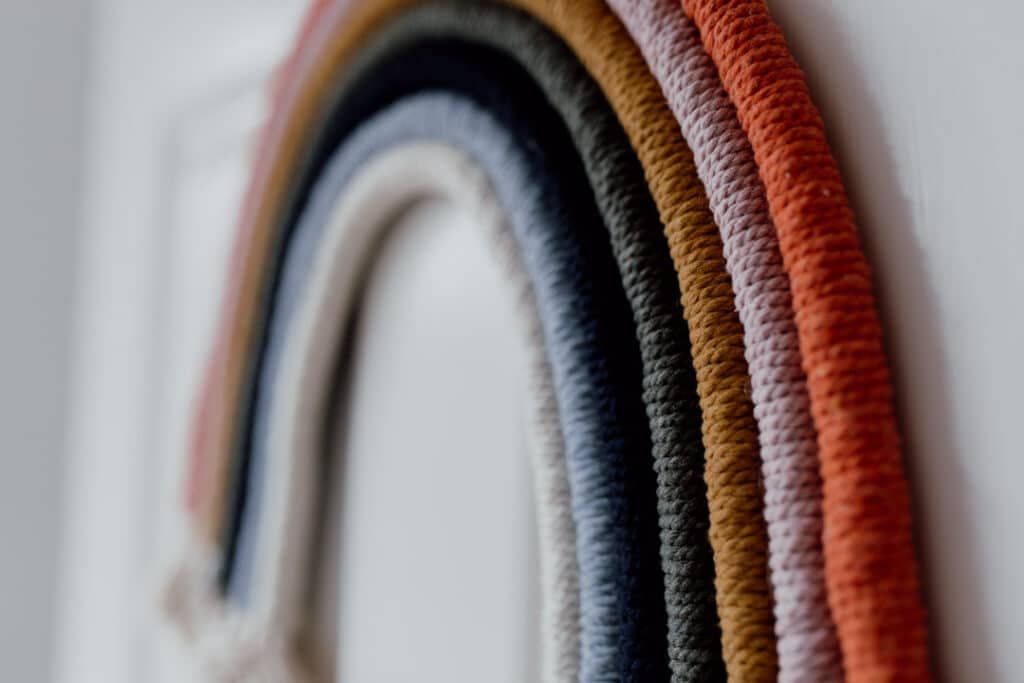
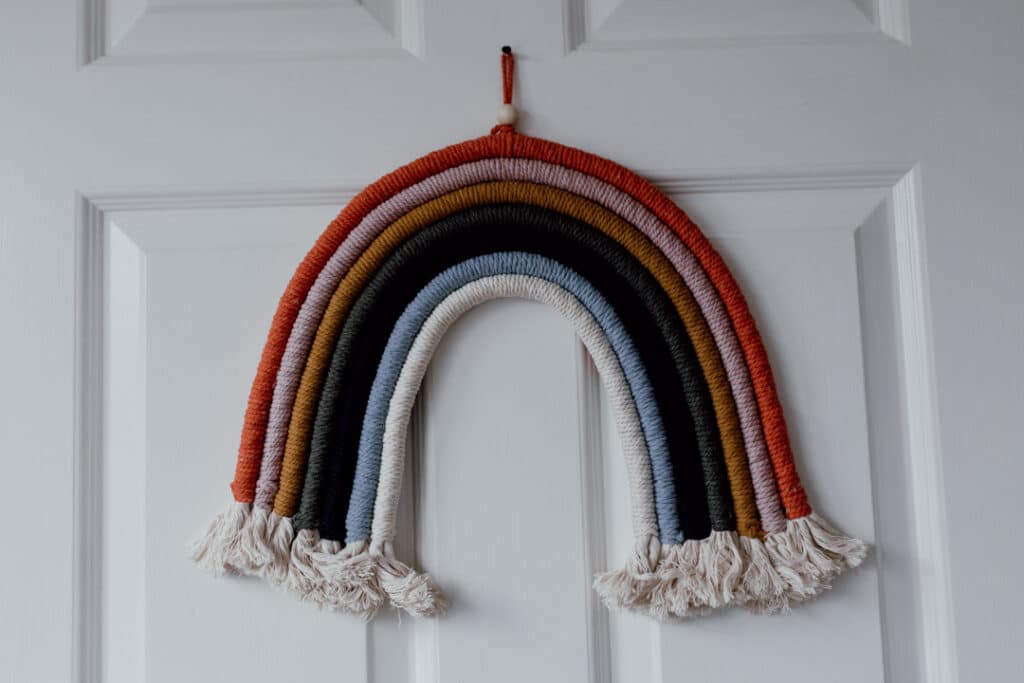
Since we moved to a new house at the beginning of the year my mind is full of crafty ideas. I aim to change this house into our home and fill it with lots of creative arts. We’re also trying to do most of the DIY ourselves and we have already successfully changed flooring in our study! We do call ourselves professionals, hehe. In between changing the big stuff I also look for some other crafts that will contribute to the design. I have recently discovered macrame and probably spend one whole weekend researching different things you can do with a rope! It’s mindblowing! I liked the idea of creating a rainbow for the girl’s room, so I thought I would give it a go. So here is a step by step guide on how to make a macrame rainbow.
Firstly, lets start with a list of things you will need
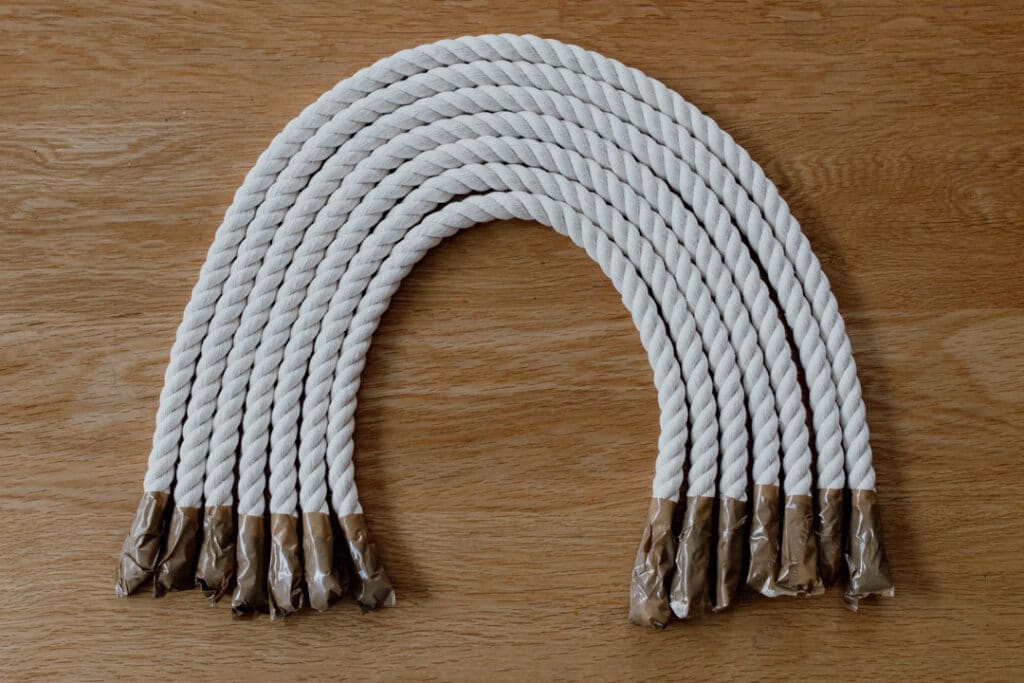
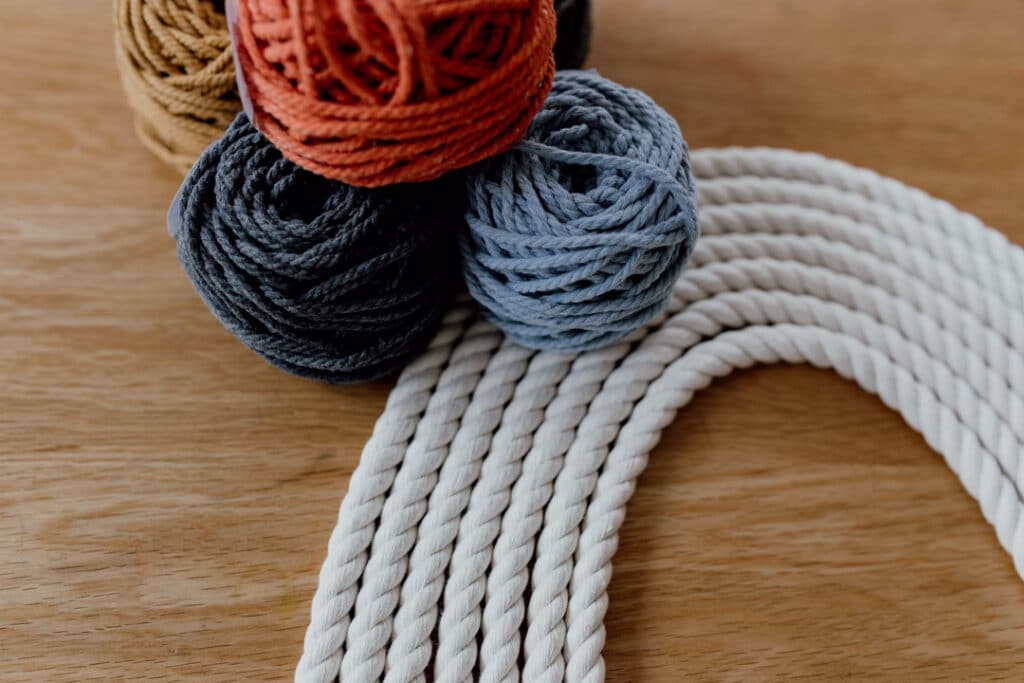
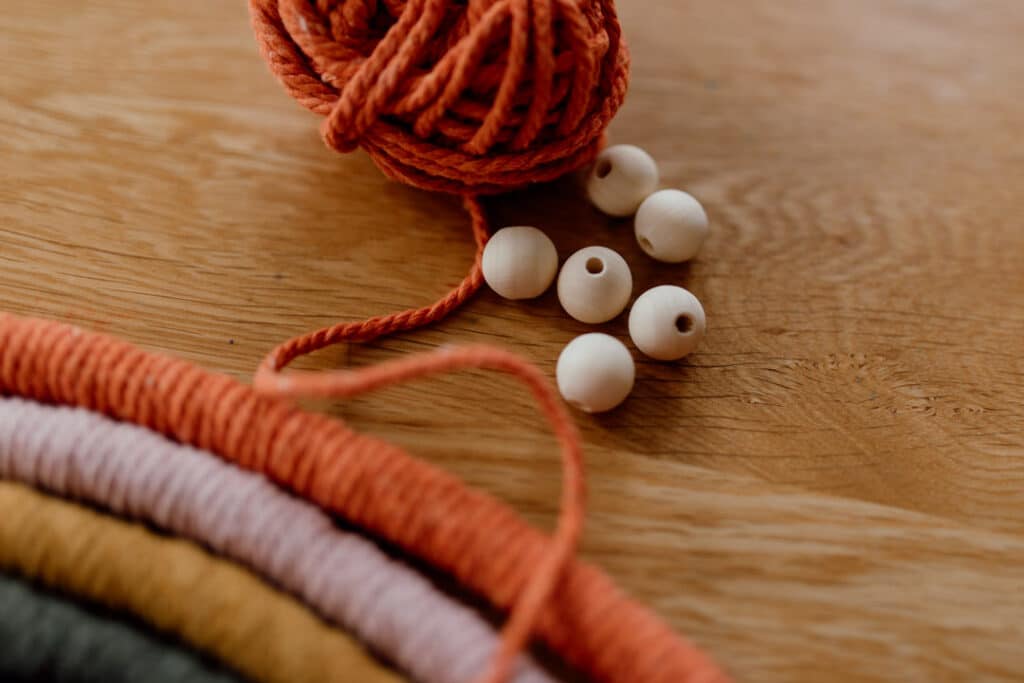
- Macrame rope – I have purchased 5m of 12mm twisted macrame cotton cord. I did 7 colours of the rainbow and 5 meters was just what I needed.
- Tape to tie the ends of the rope
- Scissors
- Glue gun
- Wooden bead
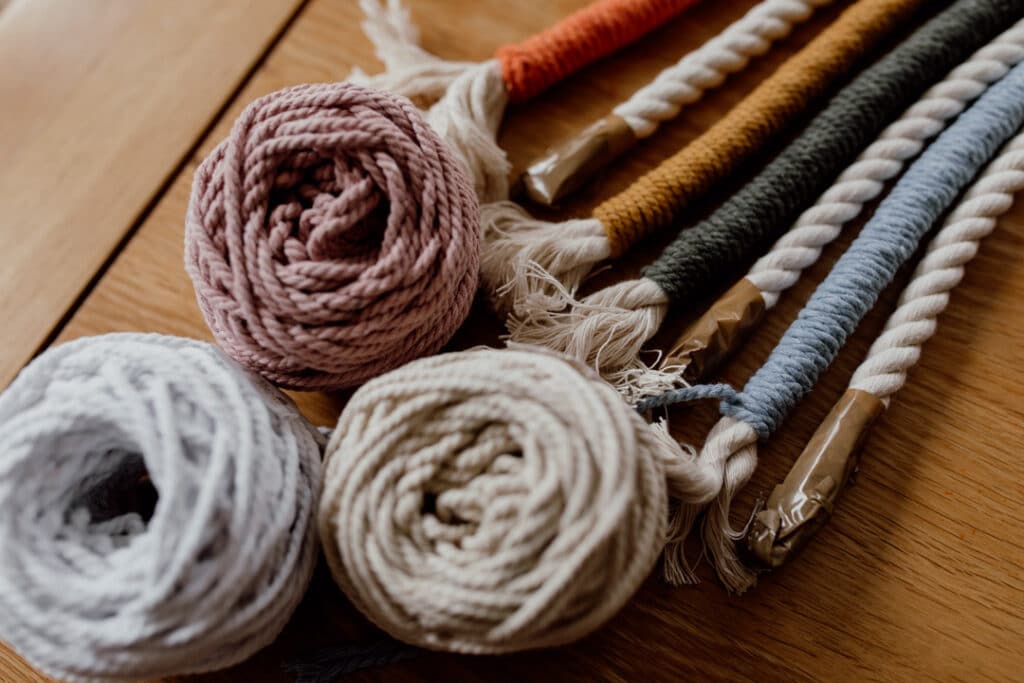
For rainbow colours, I have used 3mm 3 ply twisted macrame rope. I have bought these from the lovely Monika who runs TangledArtbyMoniqe
Dimensions
Below are my dimensions and how much rope you need to make the same size rainbow. This of course can be adjusted if you are planning on making a smaller or larger rainbow but I thought it will give you a rough idea of how much stock you need.
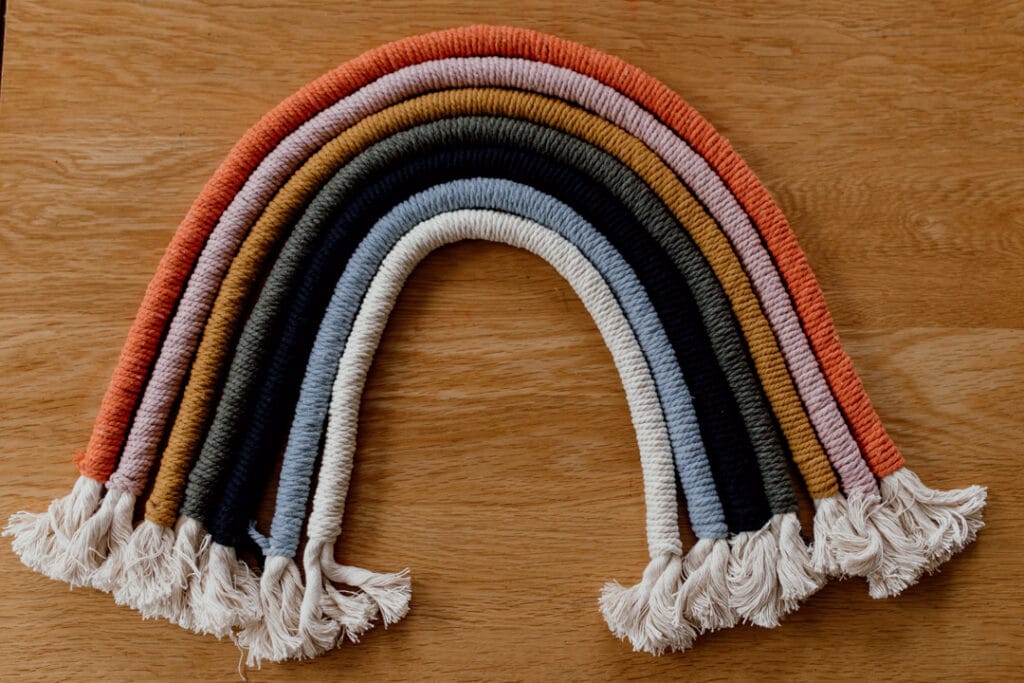
1st rope – 12mm rope – 67cm long. Orange 3mm 3 ply rope – 8.20 meters
2nd rope – 12mm rope – 64cm long. Pink 3mm 3 ply rope – 8.00 meters
3rd rope – 12mm rope – 60cm long. Terracota 3mm 3 ply rope – 7.80 meters
4th rope – 12mm rope – 58cm long. Green 3mm 3 ply rope – 7.20 meters
5th rope – 12mm rope – 54cm long. Navy 3mm 3 ply rope – 6.80 meters
6th rope – 12mm rope – 50cm long. Light blue 3mm 3 ply rope – 6.20 meters
7th rope – 12mm rope – 46cm long. Natural 3mm 3 ply rope – 6.00 meters
Step by step process
- I began by cutting the 12mm macrame rope and as soon as I cut to size I taped both ends to prevent fraying.
- Once all 7 pieces were cut I made sure all were levelled and ready for the 3mm 3 ply cord to be wrapped around them
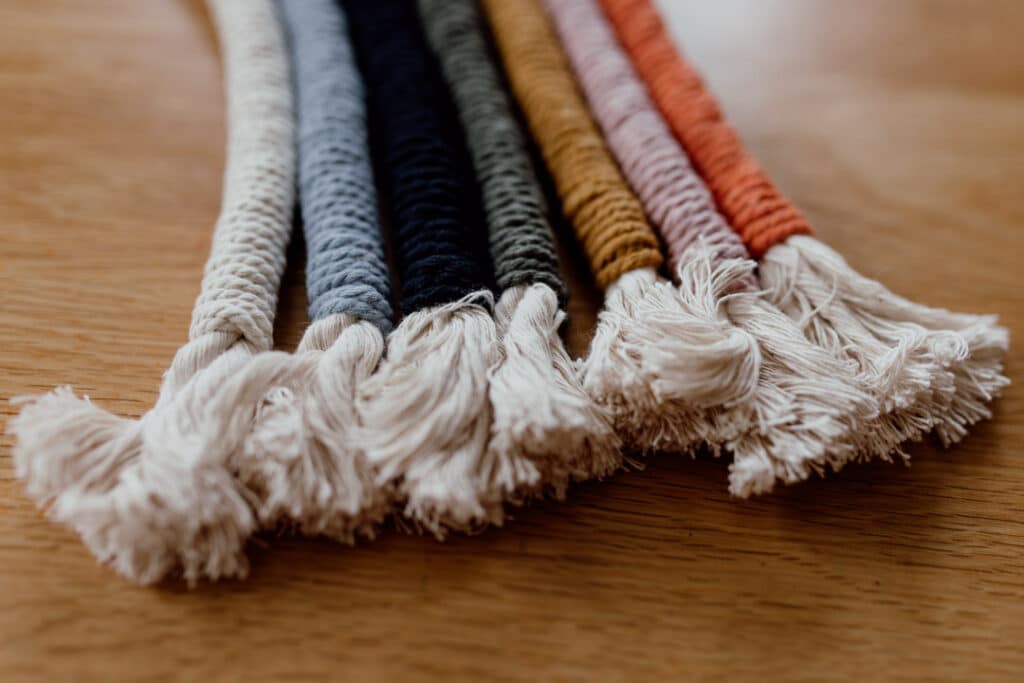
- I have started with the longest rope and I first removed the tape on one end and started wrapping tightly all around the rope. When you do this make sure you don’t cut the coloured rope and keep wrapping it tightly so there are no gaps. At the end, I made a tight knot and cut the end of the coloured rope. I then used hot glue to stick the end to the rope. Lastly, I have removed the second tape from the end of the rope.
- Repeat step 3 as many times as you have your colours
- Line up your rainbow colours and shape your rainbow as you wish.
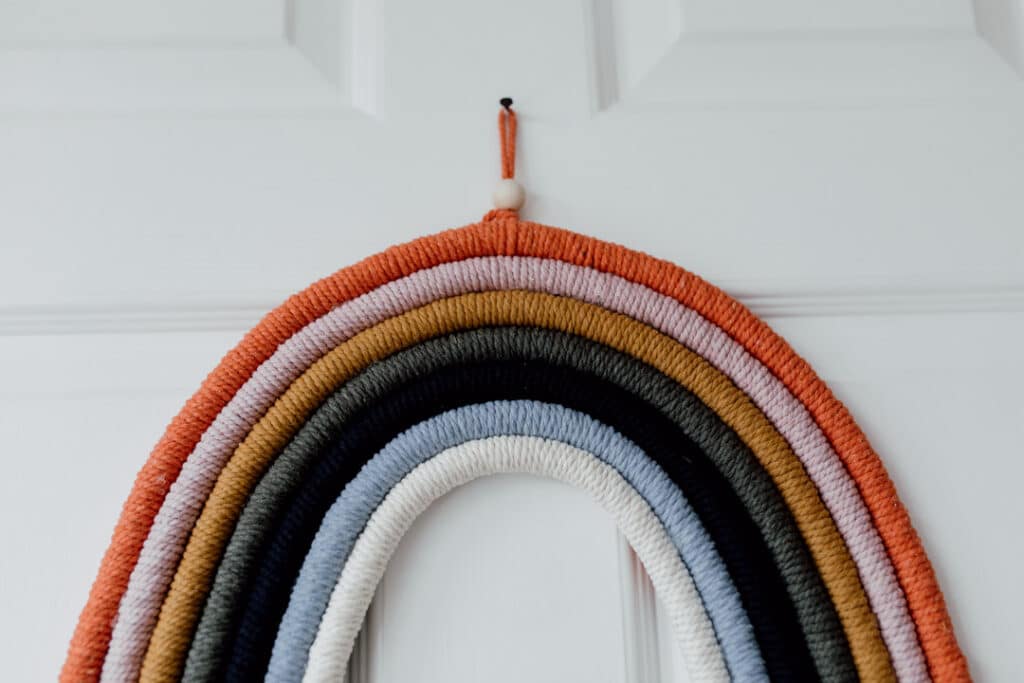
- Attach your macrame bead in the middle of your top rope. Make sure it’s tight and right in the middle so that you don’t end up with a wonky rainbow!
- The last bit is probably the hardest! Turn on your hot glue gun and wait till the glue is ready to apply. Once ready, take two ropes and start glueing. I probably recommend starting from the smallest rope and making your way up. When you press make sure you keep in mind the shape of the rainbow. Work fast as the glue dries up very quickly! Also, try and glue so that the glue is not visible in front of the rainbow. The back will have glue visible but you can’t see it once the rainbow is on the wall. Alternatively, you can stick some velcro at the back to hide the glue! I will probably do this too! Just need to buy some velcro.
- Repeat step 7 as many times as you need to
- Finally, trim the ends so they are equal in size. You can brush the ends and untangle them fully. I left mine with a kind of messy hair look 🙂
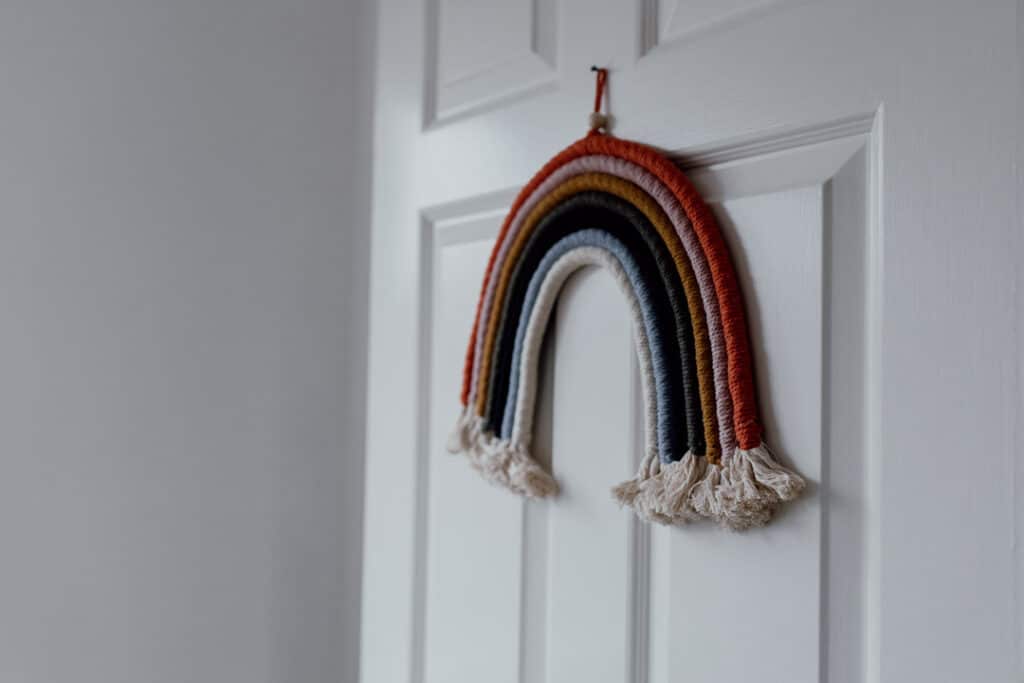
- You are done! Your rainbow is ready to hang.
I enjoyed this little project. It feels good to make something from scratch and I know it will make a lovely accessory to the girl’s room.
We currently have the ceiling plastered so it will be a couple of weeks before we paint and fully design their room!
Hopefully, you found this tutorial helpful on how to make a macrame rainbow. It was something different to my family photography, but it keeps my creative side ticking!
Till next time
Ewa x


