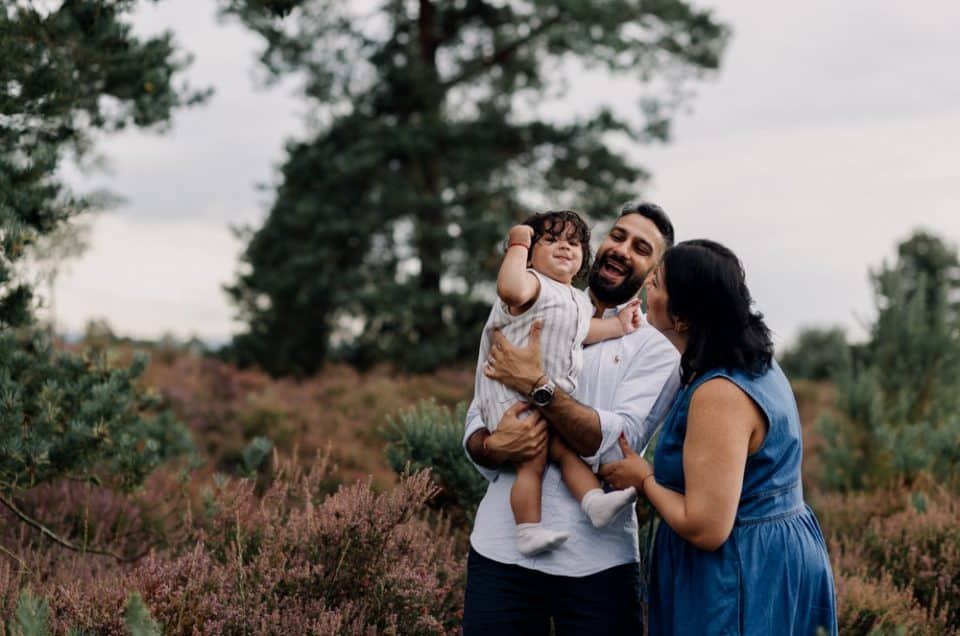
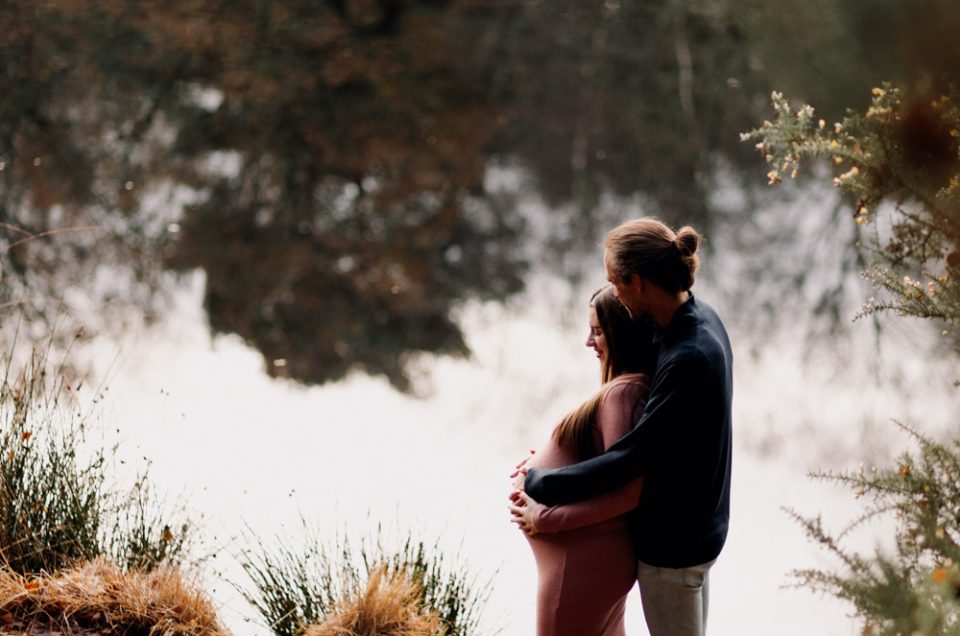
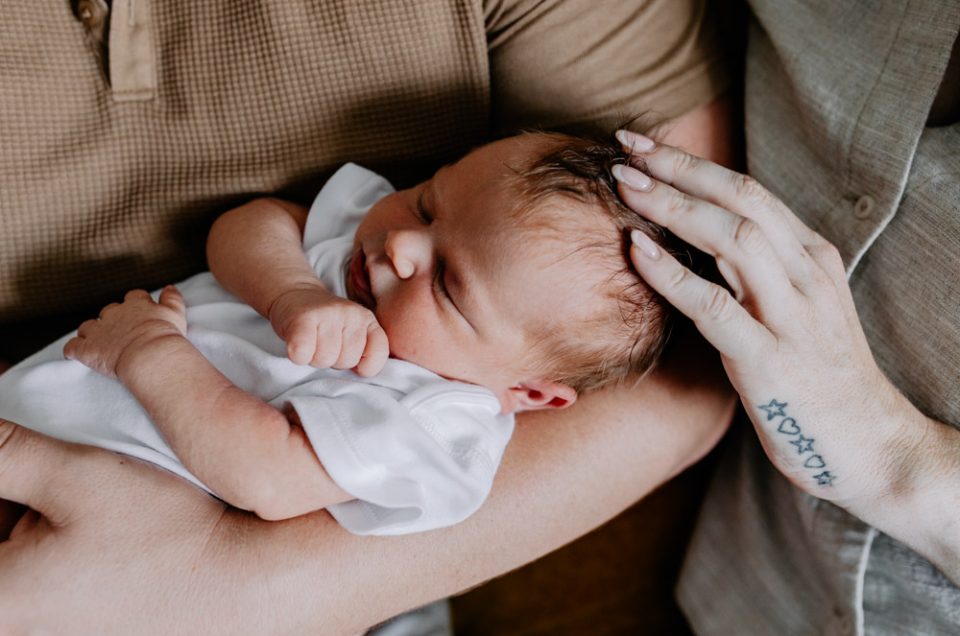
I’ve been wanting to write a blog on how do I edit my photos for a long time. I have finally decided this is the time and I am so happy to share with you some of my editing techniques. This blog will give you a little insight into my workflow. You will be able to see how much I change my photos in post-production. I hope it will help you with your editing as well. 🙂
Lightroom
Let’s start with the software I use, which is Adobe Lightroom. Lightroom apart from Photoshop is probably the most commonly used software by photographers. Lightroom gives you so many different features that if you only had one software for photo editing this would be it! The beauty of Lightroom is that you can create your own presets or buy presets to create a unique but consistent look for your photographs. It’s so simple and when you use a preset you can just edit your photos in one click to give your session the same feel. Of course, you still need to adjust photos individually but those are just minor tweaks. You have just saved yourself a lot of editing hours by using presets!
Starting point
After a family or a newborn photoshoot, I upload my photos directly to Lightroom and sort them in the folders. I usually name the folder with a family name and a date so that I can easily find them and keep them organised.
For a long time, I was searching for my editing style and went through lots of different edits and presets before I was happy with my current style. I like my pictures to look crisp and bright and when I shoot my sessions I only use natural light. I also prefer muted tones, particularly in the greens, which I think really help define my ‘style’.
Once my photographs are uploaded into Lightroom I select them all and use one of my pre-saved presets. I have a preset for outdoor shoots and indoor sessions. Using presets saves you so much time and it allows you to be consistent in your style.
If you are serious about photography I would definitely recommend you get both a Lightroom and Photoshop subscription with Adobe. It cost you about £10 a month. As I said I don’t use much of Photoshop, but it is extremely powerful if you need to make specific edits or corrections to a photo. As they both fall within Adobe’s ‘Creative Cloud’ you can export a photo to Photoshop within Lightroom, edit, and then save and return straight back to Lightroom.
What gear do I use
For a very long time, I’ve been using Canon 6D but now I use Canon 5D Mark IV as my main camera. The main reason for the switch was that I wanted to start shooting videos and I couldn’t do a great job with the 6D. I would recommend that you shoot in RAW. When it comes to editing you can do so much more with a RAW file which holds so much more detail rather than JPEG. This is particularly useful if you capture a great image but either under or overexpose the photo i.e. too dark or too light.
How do I edit my photos in Lightroom
OK, let’s go back to editing. As I mentioned above after uploading images I select them all and apply a desired preset. Next, I look through the images to make sure I like the feel of the photographs and that the preset works nicely. There are some pictures of course that will need a little bit of tweaking after applying a preset as each photograph is a little bit different. If the light has changed significantly during a shoot, or if I’ve moved location, I may adopt a different preset or need to make a significant change to the existing preset settings to make the images appear consistent.
Develop mode
Once a preset is applied, I use the ‘develop mode’ within Lightroom. Using the menu on the right hand side, I work my way down by starting with White balance and adjusting Temp, I usually leave Tint untouched.
In the Tone section, I would normally adjust my Exposure and contrast. My exposure is usually between -0.25 – +0.50, unless the picture is very underexposed then I might go up to +1.50 – +2.00.
Highlights/shadows/whites and blacks are usually adjusted in my pre-set preset. Sometimes, however, I might reduce highlights to show more detail, or increase shadow if that’s the look I am going for.
The Presence section is very useful if you need to increase or reduce the intensity of your colour in the photograph. If you still need to adjust colour, you can jump to the section with hue, saturation and luminance. If you use and drag the little circle from the left-hand side to your photograph and move up and down you can see how each colour section is affected by the change. When you first set up your presets this is the section you will spend most of your time and try to make it perfect. Trust me, it is WORTH IT! Lightroom is very powerful with managing colours. There has probably been a trend over the last few years, courtesy of in-built filters like Instagram and Whatsapp for some fairly ‘extreme’ presets that really distort colours. The problem when taking images of people is that skin tones tend to err on the side of the unnatural, so I like to focus on skin tone to ensure the edit looks natural.
Details
In the Detail section, I usually sharpen my photographs just a little and might remove some noise if I shoot indoor and used higher ISO. Make sure you tick “Enable Profile Correction” as well as it would remove any distortion or vignetting caused by your specific camera lens.
If your photograph has little imperfections such as tiny spots or unwanted fluff on your client face, hands etc you can use the spot removal tool. Lightroom however is still not coping well with larger unwanted objects. If you need to remove them you will need to use Photoshop.
Lastly, I would also like to touch on the composition. Sometimes, after editing if I still don’t feel the image quite works I will use the crop tool to playaround with the composition. Lightroom has a composition grid which helps you look at your overall picture and see what key elements fall on the thirds. The theory on good composition however could cover a whole book! You can play around with your original composition however by changing from landscape or portrait and crop very tight if necessary. Make sure you explore that tool and use it to your advantage!
Save Your Preset
After you have done your edit and you are happy with your settings go ahead and save your preset. In the preset section in the Develop mode click on the “+” and select “Create new preset”. Give your preset a new name (get creative!) and save it under your User Presets. In the settings option, you can select all sections or select the ones you require. If you uncheck a setting those adjustments won’t be applied in your preset. When I save a new preset I tend to uncheck exposure, white balance and noise reduction. I edit them on an image by image basis as explained above. You are now set! Click save button and you are ready to use your newly created preset!
Final thoughts
I do hope you find this little inside on how to edit your photos like a Pro. I hope it will help you with your editing process and save you time. This extra time can be used on taking more photographs or writing blogs, rather than editing long hours.
Till next time
Ewa x


